
Advertisement
Quick Answer
A WARDOGS mortar works best as a two-part team: a protected crew and a spotter who can see the target. Establish a supplied firing site, receive a current marker, set the required direction and distance using the live interface, fire a small adjustment, correct from observed impact, and relocate when the enemy begins hunting the position. Do not spend ammunition firing continuously at an old callout.
Confirmed Facts
- WARDOGS combines infantry, vehicles, logistics, construction, destruction, and indirect-fire options in the same objective battle.
- Mortar value depends on information, supply, placement, and what friendly players do after impact.
- FOBs can support forward logistics and fire-support positions but require continued player effort and protection.
- Three competing teams make static firing positions vulnerable to more than one direction of attack.
- Exact mortar damage, blast radius, ammunition cost, range, construction requirement, and balance remain build-sensitive.
What Players Search For
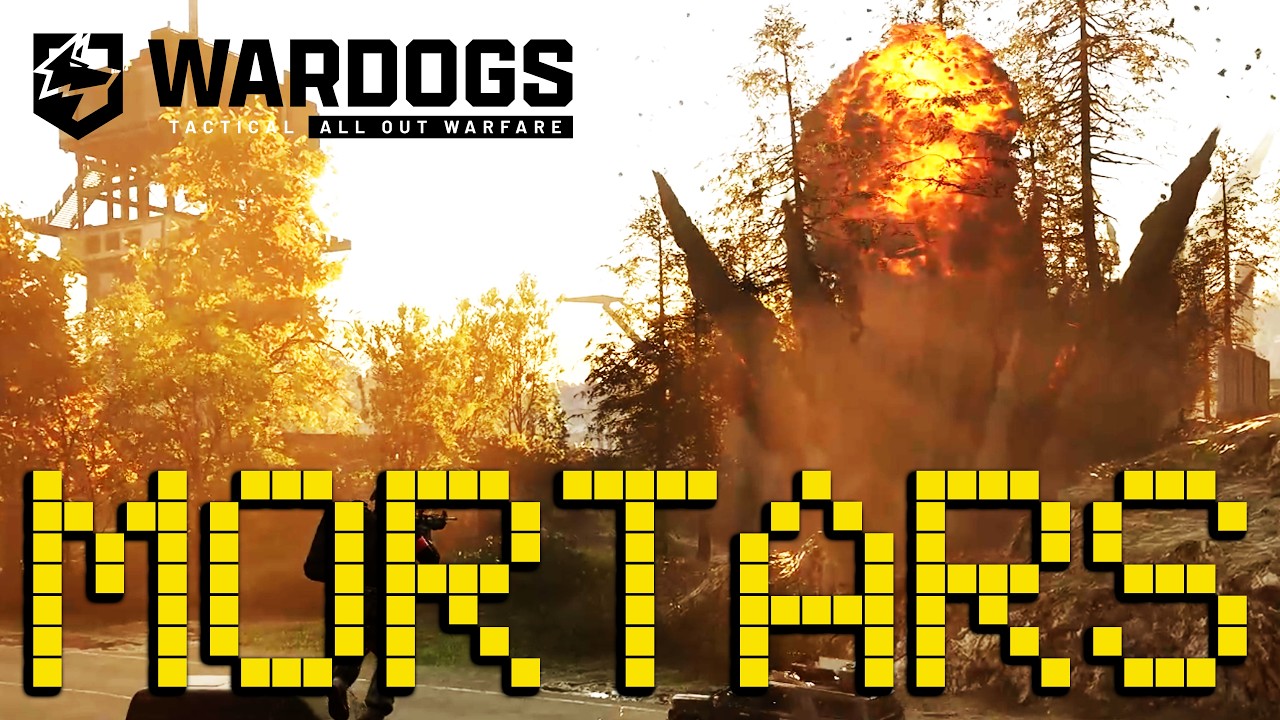
Players searching wardogs mortar guide want to know how to aim, whether mortars are overpowered, how a spotter calls corrections, and how to stop a concealed crew shelling a tower or FOB. Current footage shows dramatic impacts, but a highlight does not establish permanent balance. Indirect fire is strongest when the target is fixed, the spotter is accurate, and the firing team can sustain ammunition without exposing itself.
The durable skill is communication. Range and azimuth principles continue to matter even if the interface, weapon values, or construction rules change between beta builds.
How to Use This Guide
Use Crew and Setup before deploying, Range and Azimuth for the first adjustment, Spotting Loop for corrections, and Counterplay when you are receiving fire. Always use the current in-game scale and controls instead of old numerical tables.
Crew and Setup
Use at least a gunner and a spotter when possible. The gunner handles the weapon, ammunition, and local security; the spotter identifies the target, marks it, watches impact, and reports corrections. A third teammate can protect the site, move supplies, or watch the likely counterattack route.
Choose ground that conceals the crew without blocking the live weapon's firing requirements. Keep some distance from the most obvious FOB core, road, tower, or skyline so one reconnaissance pass does not reveal every team asset. Plan an exit before the first shot and avoid placing the full ammunition reserve beside the most visible piece of equipment.
Range and Azimuth Principles
Azimuth describes horizontal direction; range describes distance. Start with the current map marker and the live mortar interface, then confirm that both crew members use the same reference. Do not copy an old beta conversion table without checking the present build's map scale, units, zeroing, and sight behavior.
Fire one adjustment round or a deliberately small group when conditions allow. The spotter then reports whether impact is left, right, short, or long relative to the target. Change one component in measured steps, repeat, and only commit more ammunition after impacts are useful. If the target moves, stop and acquire a new solution rather than walking rounds through friendly routes.
Spotting Loop
A good call includes the target type, map marker, urgency, nearby friendlies, estimated direction and distance, and what result would help the push. “Enemies over there” is not enough. A useful example is a marked rooftop firing into the tower approach, with friendlies waiting outside the blast area and a request for one correction round.
After impact, the spotter gives concise correction and confirms when the target is suppressed, destroyed, abandoned, or no longer worth ammunition. The spotter must also call cease fire before friendly infantry enters the area. Proximity voice, squad channels, marker delay, and changing front lines can all create stale information, so repeat the target identity before every larger volley.
Applying Pressure to a FOB
Indirect fire can force builders, defenders, or vehicle crews away from exposed structures, but shelling alone does not guarantee that a FOB stops functioning. Supplies, spawn support, routes, and critical assets may remain active. Coordinate the barrage with reconnaissance and a ground or vehicle push that can exploit the disruption.
Target observed activity rather than decorative walls. A delivery route, exposed defensive position, repair area, or clustered defenders can be more important than firing at the center of the base. Because exact structure health and mortar damage can change, this guide does not publish a permanent shots-to-destroy table.
Relocation and Survival
Every launch can reveal direction, sound, or a likely firing area. Move after a useful fire mission, after enemy reconnaissance appears, when supplies become unsafe, or when the Control Zone shifts beyond the position's value. Keep the crew light enough to displace and avoid relying on one route that an enemy squad can block.
The third faction is another reason not to tunnel on the current target. A mortar team focused on one FOB can be found by the other enemy team. Maintain local observation and do not strip all defenders from the firing site merely because the first impacts were successful.
Counterplay
When receiving indirect fire, spread out, leave repeated impact points, use hard cover and terrain, and avoid clustering around a terminal, spawn asset, or supply pile. Record the direction and rhythm of incoming rounds. Scouts, aircraft, elevated observers, or a flanking squad can search likely concealed sites and supply routes.
Pressure the system, not only the tube. Remove or distract the spotter, interrupt ammunition delivery, force the crew to defend itself, or make the target move. Smoke and movement can break observation, while a coordinated push during the enemy's correction cycle may reduce accuracy. Counter-battery fire is one option, not the only answer.
FAQ
Can I operate a mortar alone? You may be able to use the equipment, but a spotter makes targeting, correction, safety, and ammunition use far more reliable.
What should the first shot do? Confirm the solution. Use observed impact to correct direction and distance before committing a larger fire mission.
Are mortars always effective against FOBs? No. Their value depends on observation, supply, target exposure, enemy counterplay, and a follow-up attack.
How do I survive enemy mortars? Disperse, move from repeated impacts, break spotting, identify likely firing routes, and pressure the crew or its logistics.
Sources and Last Checked
The official combined-arms, construction, destruction, and logistics context was checked on Steam on 2026-08-22. Mortar workflow and FOB pressure examples were synthesized from current creator footage. No test-build damage, blast, price, or range value is presented as permanent balance data.
Related Guides
Sources
- WARDOGS on Steam
official · Last checked 2026-08-22
- Are WARDOGS mortars OP or just loads of fun?
creator · Last checked 2026-08-22
- WARDOGS FOB building and supply guide
creator · Last checked 2026-08-22
Frequently Asked Questions
Does a WARDOGS mortar need a spotter?
A spotter is the most reliable way to confirm the target, call corrections, observe impact, and stop wasting ammunition on an outdated marker.
What information should a mortar team share?
Share the target description, map marker, estimated range and azimuth, first-round result, correction, and a clear cease-fire call when friendlies move in.
Are WARDOGS mortar damage and range values final?
No. Damage, blast behavior, ammunition, range limits, build costs, and balance seen in tests can change before or during Early Access.
How do I counter an enemy mortar or artillery position?
Observe launch direction, scout likely firing sites, disrupt its supplies and spotter, use terrain and spacing, then pressure or force the crew to relocate.