
Advertisement
Quick Answer
Treat a WARDOGS tower as a small, exposed team task inside the larger Control Zone battle. Reach the correct tower, clear immediate threats, identify the tower terminal and current code prompt, communicate before interacting, then keep enough players alive around the objective to turn the action into team scoring. Do not confuse a completed terminal interaction with permanent ownership of the whole zone.
Confirmed Facts
- WARDOGS places three teams in the same large-scale objective battle.
- The main game flow revolves around an active Control Zone rather than a battle-royale circle or extraction requirement.
- A smaller Hot Zone adds a higher-risk opportunity and can reward players with additional cash.
- Official game-mode material shows towers and terminal interactions as part of the objective flow.
- Exact terminal prompts, code steps, capture timing, scoring values, and tower availability remain build-sensitive during beta testing.
What Players Search For
Players searching wardogs towers guide usually reached the objective but did not understand what to press, where a code belongs, or why the team still was not scoring after one interaction. The map contains several layers of information: the wider Control Zone, a possible Hot Zone, local tower markers, enemy presence, and the terminal itself. Solving only the terminal prompt does not protect the squad or guarantee control.
The durable method is to separate navigation, interaction, and defense. One player reads the terminal state, another confirms the current map marker or code, and the rest secure doors, stairs, rooftops, roads, or vehicle approaches. That division survives interface changes better than memorizing one beta prompt.
How to Use This Guide
Read Control Zone and Hot Zone for the map context, follow Tower Capture Flow in order at the objective, and use Attack and Defense Roles to avoid sending the entire squad into the same terminal animation. Recheck all exact inputs in the current build.
Control Zone and Hot Zone
The Control Zone is the broad location where team presence and objective play decide the main score. Travel time, terrain, buildings, vehicles, and the third faction all shape how a team enters and holds it. A tower is one actionable point in that fight, not a replacement for the wider objective. If the squad completes a terminal step and immediately leaves the area empty, the opposing teams can still take control of the battle.
The Hot Zone is a separate risk-reward layer. It can pull players toward a smaller area with extra cash value, but chasing it blindly can weaken the main scoring position. Before diverting, ask whether the team has transport, whether another squad is holding the Control Zone, and whether the Hot Zone route is being watched by the third team.
Tower Terminal and Code Flow
In observed beta footage, players must physically reach the tower terminal and respond to the current code or interaction prompt. Approach slowly enough to identify the correct terminal rather than exposing the squad while everyone searches the same room. Read the on-screen information exactly, call it over squad voice, and confirm that the player entering or relaying the code heard it correctly.
The specific button, code presentation, number of steps, and completion feedback can change between builds. Use the live interface as authority. If the interaction does not begin, check that the correct tower is active, the terminal is not already being used, enemies are not contesting the immediate area, and the prompt has not changed after an update.
Tower Capture Flow
- Confirm that the marked tower belongs to the current objective flow before committing transport or cash.
- Dismount outside the most obvious line of fire and establish a rally point for separated players.
- Clear nearby windows, stairs, rooftops, and vehicle angles before touching the terminal.
- Assign one operator and one reader or caller. Everyone else provides security, revives, spotting, or anti-vehicle cover.
- Read and communicate the current tower terminal prompt or code without guessing from a previous match.
- Finish the interaction, verify the interface feedback, and remain organized for the counterattack.
- Return attention to Control Zone scoring, supply, and the next active marker instead of crowding an inactive terminal.
This sequence is intentionally independent of one keyboard bind or beta timing. Inputs and capture values are the first details likely to change.
Attack and Defense Roles
An attacking squad needs information before speed. Recon or a rooftop observer can identify defenders, while infantry clears the terminal route and a vehicle watches reinforcement roads. Smoke may block a dangerous sightline, but it can also hide an enemy push. Keep one player ready to revive and avoid placing the entire squad within the same explosive radius.
Defenders should protect approaches rather than stand shoulder to shoulder on the screen. Watch entrances, elevation, nearby cover, and the route an attacking spawn vehicle would use. If the terminal is already lost, a coordinated retake from two directions is usually better than single players feeding the room.
Common Tower Mistakes
The most common error is assuming the objective is a solo puzzle. Other mistakes include entering an old code from memory, interacting before the building is clear, parking valuable transport beside the most visible entrance, abandoning the Control Zone for the Hot Zone, and treating beta timings as permanent rules. The third-team format also means a squad can defeat one attacker and still be flanked by the other faction.
Use local voice carefully around the objective because nearby opponents may hear information in systems that support proximity communication. Give short callouts, repeat the code only when needed, and move after completing the interaction.
FAQ
Do towers win the match by themselves? No. They support the active mode flow, while the wider Control Zone and team scoring still determine the match.
Where do I enter the tower code? Use the active tower terminal and follow its current on-screen prompt. The exact interface and input are build-sensitive.
Should the whole squad use the terminal? No. Assign an operator while the rest secure approaches, spot, revive, and protect the interaction.
Is the Hot Zone always the priority? No. It offers extra reward, but leaving the main objective unsupported can cost more than the bonus earns.
Sources and Last Checked
The three-team Control Zone and support-focused match context were checked against the official Steam listing on 2026-08-22. Tower and terminal flow was synthesized from the official game-mode video and current creator tips. Exact codes, prompts, timings, and scoring behavior are labeled build-sensitive and must be verified in the live client.
Related Guides
Sources
- WARDOGS on Steam
official · Last checked 2026-08-22
- Official WARDOGS game mode explanation
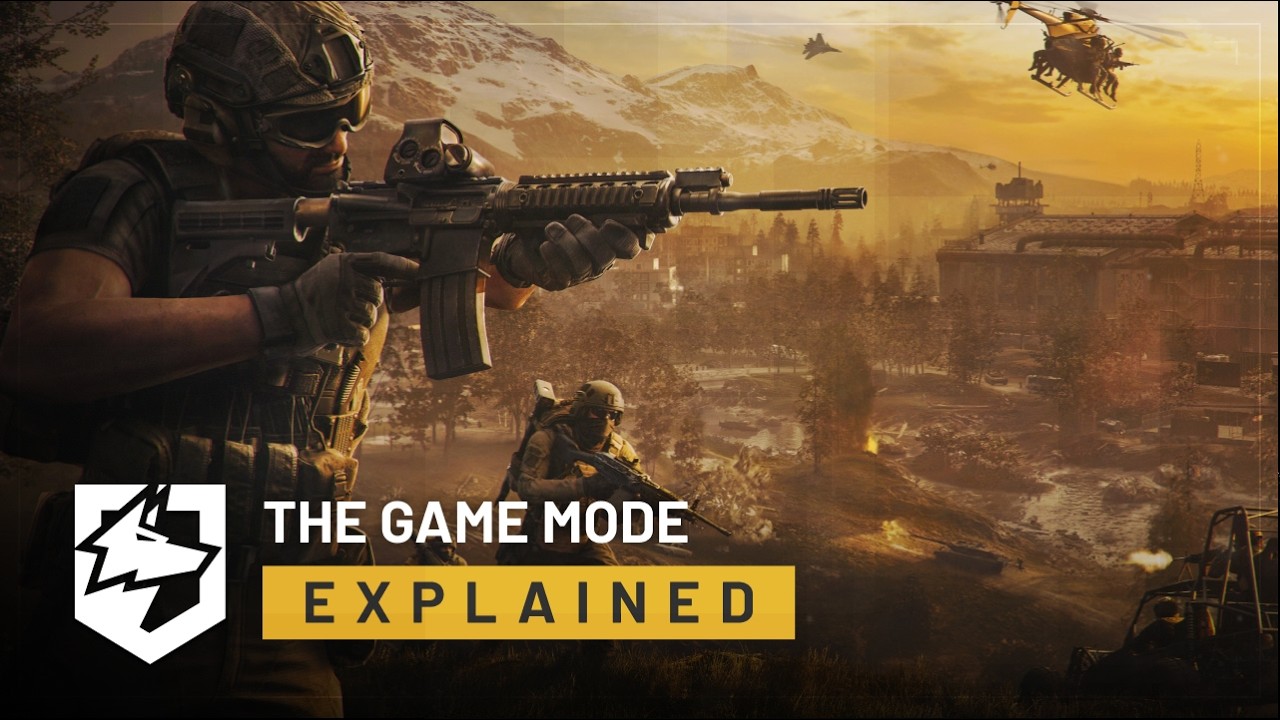
official · Last checked 2026-08-22
- WARDOGS 40 tips
creator · Last checked 2026-08-22
Frequently Asked Questions
What are towers used for in WARDOGS?
In observed beta matches, towers and their terminals create focused objective interactions inside the wider Control Zone fight.
Is a tower the same as the Control Zone?
No. The Control Zone is the broader scoring area; a tower terminal is an interactable objective within the current mode flow.
How does the WARDOGS tower code work?
Observed builds require players to reach the tower terminal, read the current prompt or code flow, communicate it, and complete the interaction while the area is secure.
Are tower counts and timings final?
No. Terminal prompts, required interactions, capture timing, scoring, and tower availability are build-sensitive during beta testing.