
Advertisement
Quick Answer
A useful WARDOGS medic keeps the squad active without becoming the next casualty. Win or break contact from the immediate threat, reach the downed player through cover, announce the recovery, use the current build's interaction, then move both players away from the exposed lane. Revive time, treatment values, item capacity and progression are build-sensitive and not confirmed as permanent release numbers.
Confirmed Facts
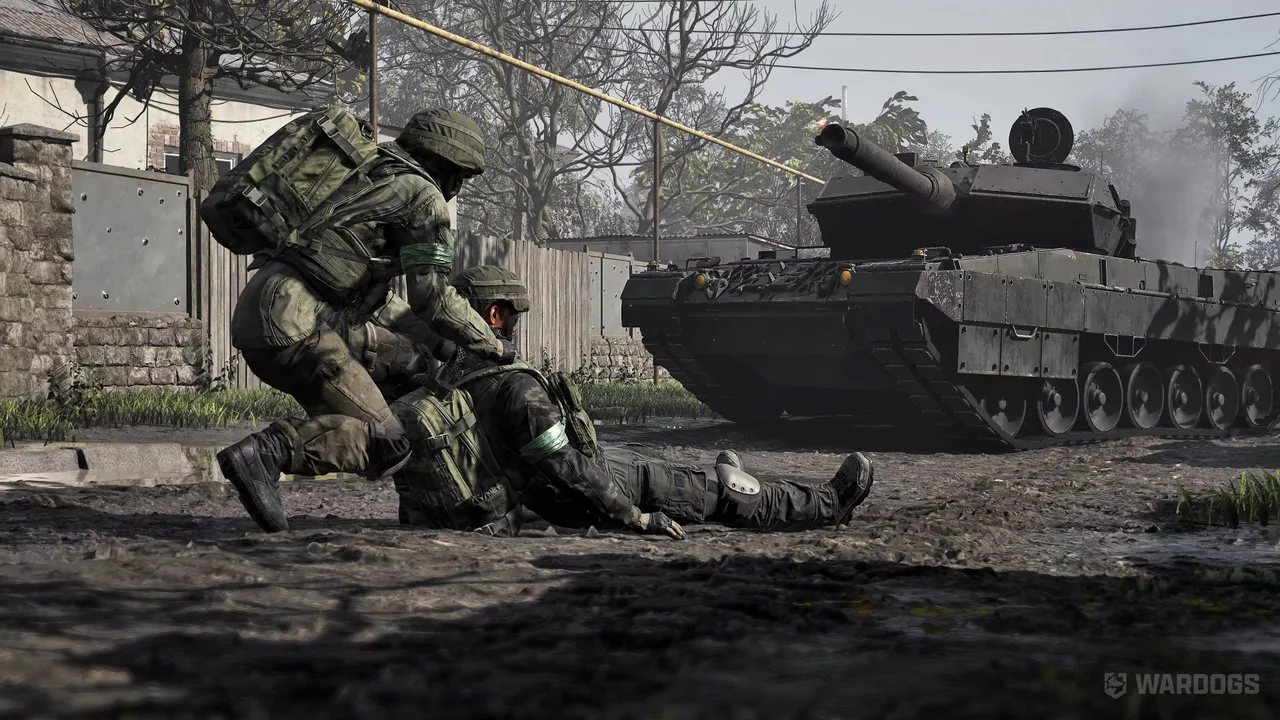
Official WARDOGS material confirms squad-based infantry combat, persistent equipment, progression, vehicles and contested objectives. Official gameplay imagery also shows recovery-focused team play. Final revive windows, treatment amounts, medical item capacities, prices and progression gates have not been published as a stable live table.
What Players Search For
Players want the revive control, the best Medic weapon, the right medical loadout, and the fastest way to recover teammates. Controls and timers can change between builds, so this page focuses on the durable sequence: identify the threat, create a safe route, communicate, recover, and reposition.
How to Use This Guide
Build the kit with the catalogue links, rehearse the safe recovery sequence, then use the triage and location sections for live decisions. Check the current control menu before a match. Any exact timer or item value seen in an older video should be retested before it is treated as current.
The medic's actual job
The role is not a revive counter. Preserve fighting strength, reduce repeated equipment losses, and help the squad maintain pressure on a Control Zone, FOB route or vehicle position. Sometimes the correct decision is to treat a nearby safe player first; sometimes it is to hold an angle while another teammate recovers the casualty; sometimes the casualty cannot be reached without losing two more players.
Make that decision quickly and communicate it. Say "holding," "coming from your left," "clear the doorway," or "cannot reach yet." A downed player can then report the shooter, stop crawling into danger, and avoid blocking the safest approach.
Build a complete medic kit
Choose a primary you can control while moving between cover. The observed catalogue associates the Super-45 with Medic XP, but that gate is not a final rule. Compare SMGs and rifles in the weapons catalogue, then confirm magazines and ammunition. Keep the kit light enough to reach players and reserve inventory space for the live build's medical equipment.
Use the gear catalogue to compare armor and storage without assuming that the heaviest option is mandatory. More protection may help during a short exposed crossing, but excessive cost or weight can make repeated support work harder. The correct balance depends on route, squad budget and current movement model.
The safe recovery sequence
- Identify why the player went down: rifle lane, explosive, vehicle, flank or indirect fire.
- Stop, suppress or avoid the threat before touching the casualty.
- Check the second angle and the third faction, not only the last visible shooter.
- Ask the player for a concise callout and whether the body can move toward cover.
- Approach from hard cover and avoid stacking the entire squad on one body.
- Start the current revive or treatment interaction only when the lane is controlled.
- After recovery, move, reload, treat remaining damage and rebuild security.
This sequence is more durable than memorizing one beta key or timer. Controls and interaction rules can change, while threat control and route planning remain useful.
Triage under pressure
Prioritize the recovery that restores the squad's immediate capability. A safe anti-vehicle player may matter when armor is approaching; a squad leader or builder may preserve the spawn and logistics plan; a nearby rifle can secure the medic's exit. Do not expose three players to save one kit when the objective has already moved.
Separate "downed" from "safe to recover." Smoke, suppression, destruction and vehicles may create a window, but each can also announce where the squad is clustered. Use a distraction or alternate angle instead of repeating the exact path that produced the casualty.
Reviving around vehicles and FOBs
Vehicle cover can move, explode or expose the medic to another team. Approach from the side with the least likely fire, confirm the crew knows where you are, and do not lie in a repair or escape path. Near a FOB, spread medical and ammunition activity so one explosive does not remove the whole support group.
At a Control Zone, recover players who can immediately protect the interaction. After the revive, do not remain on the same floor edge or doorway. Repositioning matters because enemy players may be watching the body for a second target.
Communication that saves time
Use short calls: threat direction, distance, safe side, recovery status and exit route. The casualty should describe the last reliable information instead of narrating every sound. The medic should say when the interaction starts and when it must be cancelled. A cancelled recovery is not wasted if it prevents another death.
Before the match, agree on the squad's medical fallback and who carries spare supplies. During longer pushes, check stock before the team leaves a FOB or vehicle. Medical support fails when the player discovers an empty slot only after reaching the casualty.
Common mistakes
Instant tunnel vision: running straight to the icon while the shooter holds the body.
Full-squad stacking: placing every teammate inside one explosive or burst radius.
No exit: completing the interaction in open ground with nowhere for either player to move.
Overbuilt loadout: buying so much weapon or armor that medical storage and replacement budget disappear.
Old-build assumptions: treating a beta key, timer or item amount as live fact without checking the current interface.
What remains unconfirmed
Final revive windows, medical item names, healing amounts, interaction durations, animation cancellation, progression gates and prices are not confirmed. This guide therefore separates official combined-arms and progression context from tactical recommendations. Recheck the live interface after every major patch.
FAQ
Should a medic revive immediately? No. Control or avoid the threat and check the second angle before starting the interaction.
What should a medic carry? A controllable primary, compatible ammunition, enough storage, and the current build's treatment tools without overloading the kit.
Are revive times final? No. Interaction time, capacity, healing, progression and price remain build-sensitive until the live version is verified.
Sources and Last Checked
This page was last checked on August 30, 2026 against the official WARDOGS Steam page, Team17's game page, and the official Team17 press and creator hub. Tactical recommendations are clearly separated from unconfirmed numeric behavior.
Related Guides
Sources
- WARDOGS on Steam
official · Last checked 2026-08-30
- WARDOGS at Team17
official · Last checked 2026-08-30
- Team17 Press and Creator Hub
official · Last checked 2026-08-30
Frequently Asked Questions
Should a WARDOGS medic revive every downed player immediately?
No. Stop the threat, create cover, check the second enemy angle, and confirm the casualty is reachable before starting a recovery.
What should a medic carry?
Carry a controllable primary, compatible ammunition, enough storage, and the current build's treatment or revive tools without overloading the kit.
Are revive time and medical item values final?
No. Interaction time, item cost, capacity, healing, progression, and availability are build-sensitive until verified in the live build.